Digitizing Film Without Scanner
There is much of interest in converting B/W 35mm film negatives to digital positives. In this respect, the option of a 1:1 magnification offered by the Micro Nikkor 105mm f/2.8 G VR ED in combination with a resolving full frame camera is appealing.
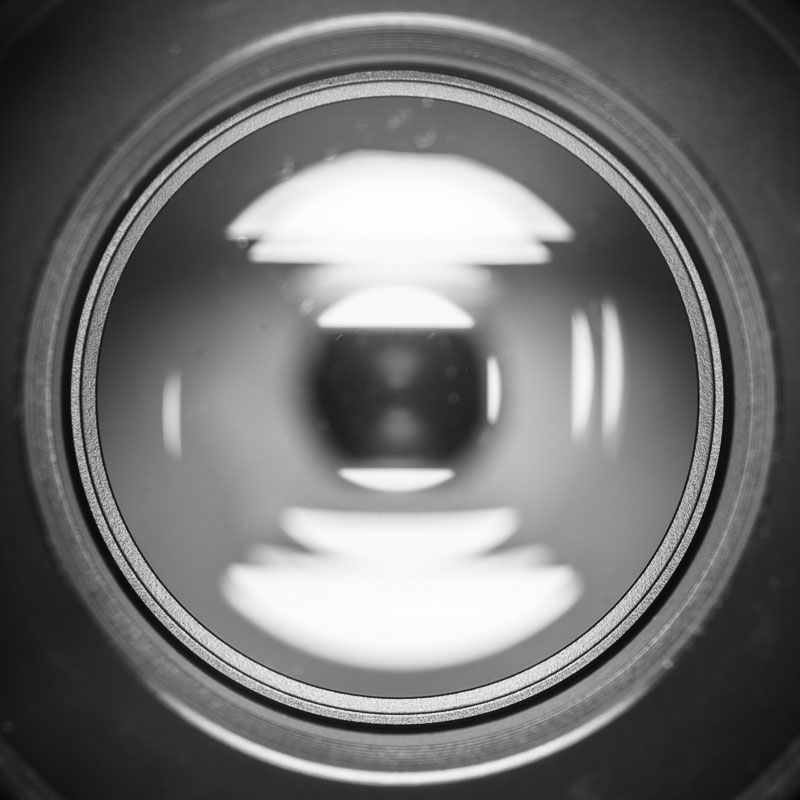
I use the Vivitar VI enlarger, setting the condenser to the position for medium format to achieve a more even light distribution. I mount the camera on a sturdy tripod or any other solid support (as described below) and shoot vertically upward into the enlarger with the camera lens attached and the enlarger lens removed. To align the sensor plane parallel to the film plane, I place a mirror in the negative holder plane of the enlarger and position the camera so that the mirror image of the lens, as seen by the camera, is centered (image on the left). This alignment process can be facilitated by overlaying a grid onto the image using tethering software. Afterward, the frame and focus can be adjusted by moving the enlarger and/or the focus ring on the camera lens. Currently, I use the tethering software qDslrDashbord (as digiCamControl caused my PC to freeze) with the D800 connected to the PC to capture the images. The live view feature allows for comfortable focusing if the image covers slightly less than the full sensor (the camera needs some range to search for focus). The reproduced negatives can be easily converted to positives using the tone curve in any software used, and further post-processing can be done as desired.


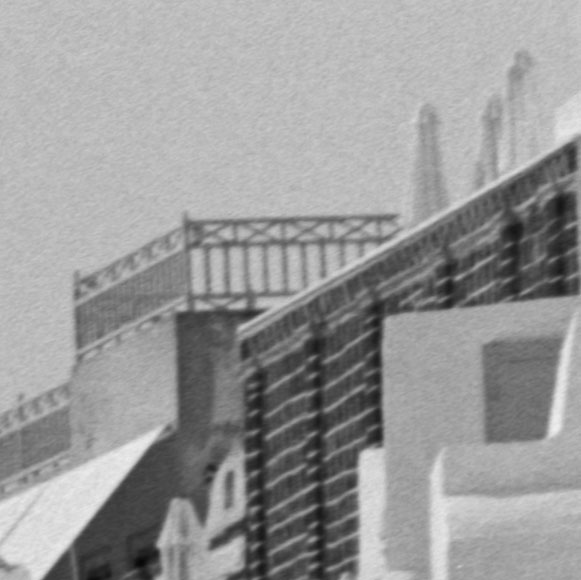
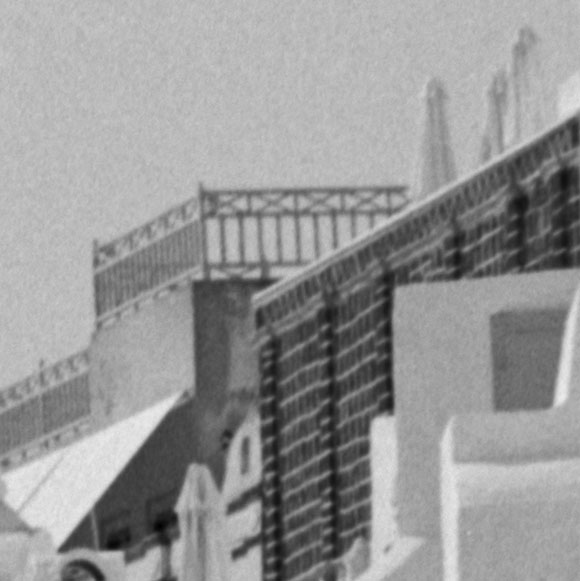
Tests conducted using the Micro Nikkor 55mm f/2.8 AI-S, which can only magnify up to 1:2, raised high expectations. However, the results obtained with the 105mm Micro Nikkor were somewhat disappointing. As explained below, the sharpness of the 105mm lens at 1:1 magnification is satisfactory. The sharpness is fairly consistent across the entire image, including the corners (at the optimal aperture). However, the grain lacks sharpness when viewed at 100% magnification of the raw file, and the fine details in the images appear slightly soft. In comparison, when combined with the PK13 extension tube (which allows for 1:1 magnification as well), the 55mm lens is sharper in the center. The corners are noticeably weaker than the center, but they are still slightly better than what the 105mm lens can deliver. For more information on these and other macro lenses, you can visit coinimaging.com or Bjørn Rørslett's web page.
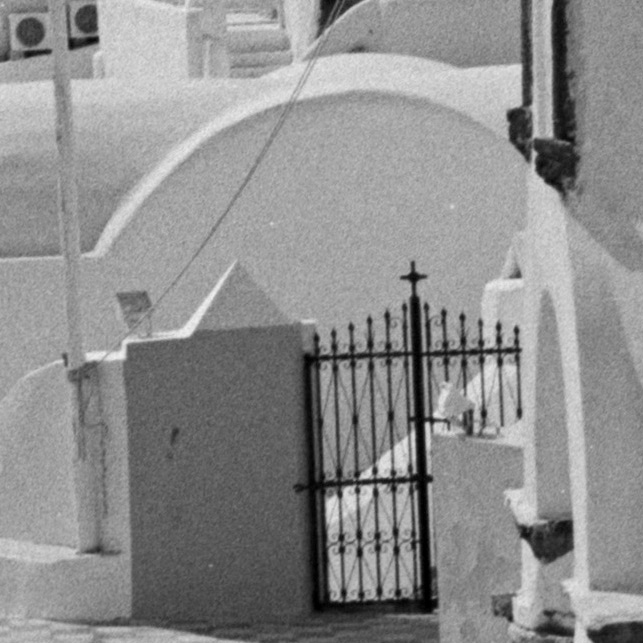
On the left and below some details are shown. A series of images was captured for each lens, with the aperture being changed in between. After each change, sufficient time was given for any vibrations to settle before releasing the shutter with a 3-second mirror pre-release. For the 105mm lens, VR (Vibration Reduction) was switched off, of course. The displayed images are cropped and represent the apertures that yielded the best visual results. On this webpage, they are displayed at a slightly smaller size (re-scaled). The visually optimal results appear to have been achieved with f/11 for the 105mm lens (both center and corner), with f/8 being a close. For the 55mm lens, the center exhibited the best visual results at f/5.6, while the corners were optimal at either f/8 or f/11.
|
|
In conclusion, when utilizing the mentioned technique, the Micro Nikkor 55mm f/2.8 AI-S with PK13 extension tube produces better image quality than the 105mm f/2.8 G VR ED lens. Unfortunately, focusing must be done manually for the 55mm lens (wide open with 100% live view magnification). However, once properly aligned, a series of negatives can be easily reproduced. Using a conversion preset in the software likely makes this technique much faster than any other scanning procedures.
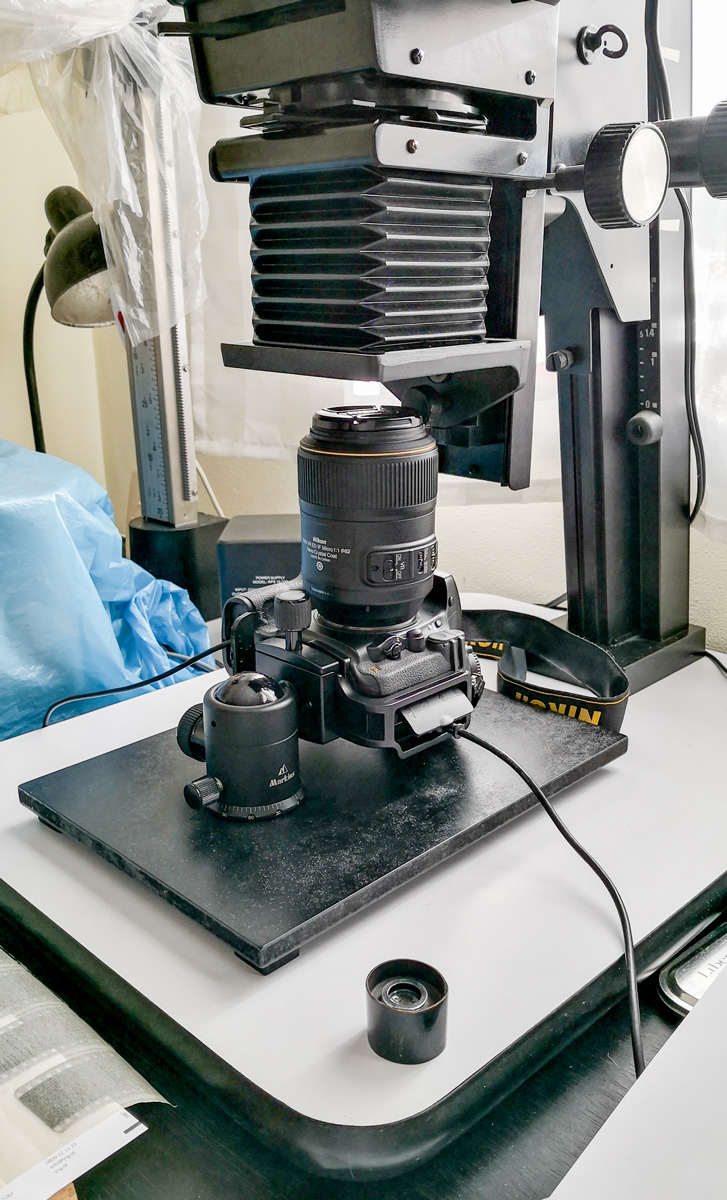
The image on the left shows the current setup. The camera (D800) is mounted on a MDF plate via a solid ball head.
The camera has a permanent power supply. It is operated in live view and connected to a PC. For convenience I use
the Nikkor 105mm f/2.8 G, sacrificing some sharpness (see above), because it allows a one-click refocus
through qDslrDashboard, whenever the film strip is moved to the next negative. Since the light intensity from the
Vivitar VI color head is quite high, the setup can be operated even in normal daylight. Typical exposure times
using f/8 range from 1/250 s to 1/1000 s. The D800 is well capable of catching the normal dynamic range of film
negatives. For correctly exposed and developed negatives I have never run into the need of exposure bracketing.
February 2019